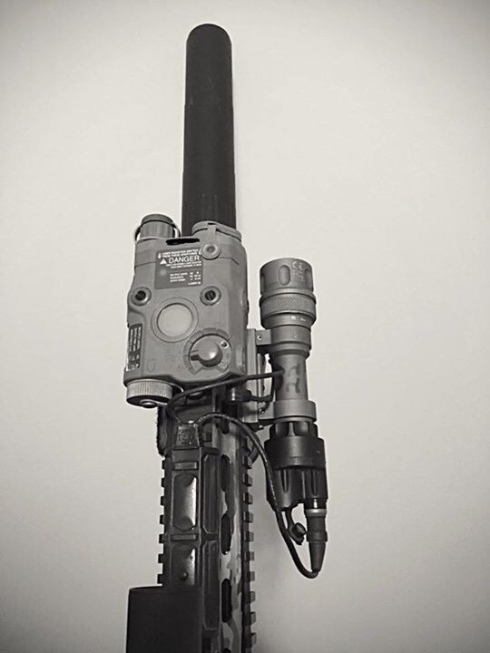
Have you been considering picking up a dual remote switch to run your PEQ/DBAL and Surfire lights?
The average cost of a Surefire dual remote switch will run you anywhere from about $100- $150 and provides remote momentary-on activation, either separately or simultaneously, for two weapon-mounted illumination tools.
Those that know me, know how I hate waste and am always finding ways around having to drop large amounts of cash unless you absolutely have to.
In this write-up I will show you how to make your own remote switch for a fraction of the cost in under and hour with minimal tools or electrical knowledge.
What You’ll Need:
- Chinese brand Dual Switch Pressure Switch
- OEM Remote Switch that came with each of the devices you want to use
- Box Cutter/Exacto Knife
- Epoxy (ie. JB Weld)
- Soldering Iron and Solder
A quick search on eBay brings up several Chinese copies of well-known brands of remote switches. For this particular DIY project I picked up a copy of the Surefire dual remote which cost me about $20.
The intent here is to use the pressure pad and slave the two genuine plugs that came with my devices.
After a few days I received the item in the mail, and while at first glance it might seem that the plugs would be a direct fit into the PEQ15 and Surefire light but they are actually not compatible.
The first thing I did was use a box cutter to carefully cut around the bottom of the front of pressure pad where the wires exit the remote taking care to keep the incisions only on the bottom half. (Do not throw out the cut out as you will need this later). Next, using the box cutter blade I separated the poorly glued back side of the remote (the part that lies flat against the handguard rail) and remove it to expose the metal pressure pad circuit board.
Now that the wires are exposed, I use a soldering iron to disconnect both wires from the circuit board. Next I cut out and disconnect the wires from the OEM pressure switches and expose just enough wire to be able to solder it where the Chinese wires were.
Test the pressure pad function either with a volt meter or by simply connecting your devices and depressing each of the buttons to make sure everything is functioning as it should.
Finally, I use a two part epoxy to fully seal off the front opening and replace the rubber bottom that I had cut out. Make sure to fully seal all seams you have created to ensure it is weatherproofed.
If you’ve successfully followed all these steps, you should now have a fully functional dual remote to allow you to run your PEQ/DBAL and Surefire light that looks identical to the real one for a fraction of the cost.


